Complete Solution for Foam Problems in Wood Coating Spraying: From Defoamer Selection to Process Adjustment
1. Root Causes and Impact of Spray Foam Problems
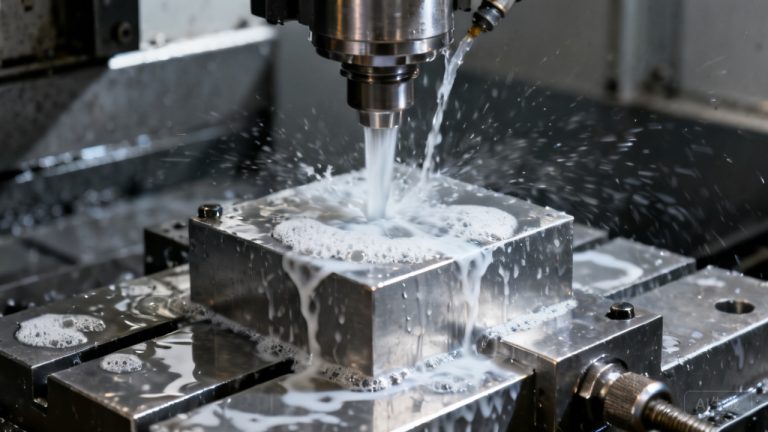
Foam generation during wood coating spray processes typically arises from two sources: first, air entrainment caused by surfactants such as wetting agents, dispersants, and rheology modifiers under high-speed agitation and spray shear; second, micro-bubble inclusion during high-pressure atomization in spray equipment (e.g., airless spray). If not promptly eliminated, foam directly leads to surface defects such as pinholes, fisheyes, and cratering, severely compromising film density and water resistance, with high rework costs.
2. Defoamer Selection: Molecular Type is Better Suited for Wood Coatings
Traditional silicone-based defoamers (e.g., polydimethylsiloxane types) offer fast bubble breaking but often cause cratering and reduced interlayer adhesion due to poor compatibility. Given the stringent requirements for appearance and adhesion in wood coatings, nonionic molecular defoamers are recommended as the first choice.
| Product Model | Chemical Type | Key Features | Recommended Dosage |
|---|---|---|---|
| Toynol® Foamic-024 | Nonionic organic polymer | Silicone-free, mineral oil-free, and APEO-free; does not cause cratering or pinholes; especially suitable for high-appearance systems | 0.2%–1.0% |
| Toynol® Foamic-021 | Acetylenic diol structure + fatty alcohol polyoxypropylene ether | Eliminates most foam within 30 seconds; foam suppression lasts over 30 minutes; targets stubborn foam from anionic surfactants | 0.2%–1.0% |
| Toynol® DF-80D | Nonionic gemini type | Gemini structure avoids cratering risk of silicone defoamers; balances defoaming and foam suppression | 0.1%–0.8% |
> Selection Tip: If the system also suffers from poor wetting, pair with Toynol® FS-620 (acetylenic diol polyether foam-controlling wetting agent) or FS-204PG to simultaneously address dynamic wetting and foam control, preventing mutual cancellation of defoamer and wetting agent performance.
3. Application Process and Addition Timing
1. Stage-wise addition: Add one-third of the total defoamer (e.g., Foamic-024) during the grinding stage to suppress grinding foam; add the remaining two-thirds during the letdown stage to ensure long-lasting foam suppression.
2. Avoid excessive shear: Add defoamer slowly under low-speed stirring; high-speed dispersion can destroy defoamer micro-droplet structure and reduce efficiency.
3. Let stand before spraying: After formulation, allow the paint to rest for 10–15 minutes so large bubbles rise and escape, while micro-bubbles are continuously collapsed by the defoamer.
4. Fine-tune process parameters: If micro-bubble issues persist, consider reducing airless spray pressure (e.g., from 180 bar to 150 bar) or switch to air-assisted airless spraying to reduce shear-induced air entrainment.
4. Common Misconceptions and Troubleshooting
- Misconception 1: More defoamer is always better. Excessive defoamer can itself become a source of cratering; for Foamic-024, compatibility testing is recommended when dosage exceeds 1.0%.
- Misconception 2: Focus only on bubble breaking speed, ignoring foam suppression persistence. In continuous spray lines, insufficient foam suppression leads to foam accumulation in the paint pot; products like Foamic-021 with extended foam suppression are advised.
- Troubleshooting sequence: First check whether dispersant/wetting agent levels are too high → then verify defoamer compatibility with the resin system → finally confirm spray equipment settings.
5. Summary
Foam problems in wood coating spraying essentially involve balancing the foam-stabilizing effect of surfactants with the foam-breaking ability of defoamers. It is recommended to use Foamic-024 as a general first choice; for stubborn foam, switch to Foamic-021; for high-gloss clear coat systems, use DF-80D to avoid any cratering risk. Combining stage-wise addition, static deaeration, and spray parameter optimization can systematically resolve foam defects and improve first-pass yield.